
Getting started as a School Administrator
This guide takes you from the welcome email to a school that is ready for teachers, students and parents. Set aside about an hour for the first pass; you can complete the details later.
Who is the School Administrator?
The School Administrator is the person who manages the school's SEMS account: usually the proprietor, principal, head teacher or an ICT officer they appoint. The administrator can see and change everything in the school's panel, so keep the login details private and enable two-factor verification (see Security and two-factor verification).
Your school's addresses
| Address | Who uses it |
|---|---|
https://<school>.schoolsite.ng |
Your public school website. |
https://<school>.schoolsite.ng/login |
Staff Login — administrators, teachers and other staff. |
https://<school>.schoolsite.ng/portal/login |
Student & Parent Login — the student/parent portal. |
If your school uses its own domain (for example stmarys.sch.ng), replace <school>.schoolsite.ng with that domain; the /login and /portal/login paths stay the same.
Signing in for the first time
- Open the Staff Login link from your welcome email (or click Staff Login at the top of your school website).
- Enter the administrator email address and the password from the welcome email.
- If a verification code is requested, check the administrator's email inbox, enter the six-digit code and continue.
- Go to Profile (top-right avatar → Profile) and change the password immediately.
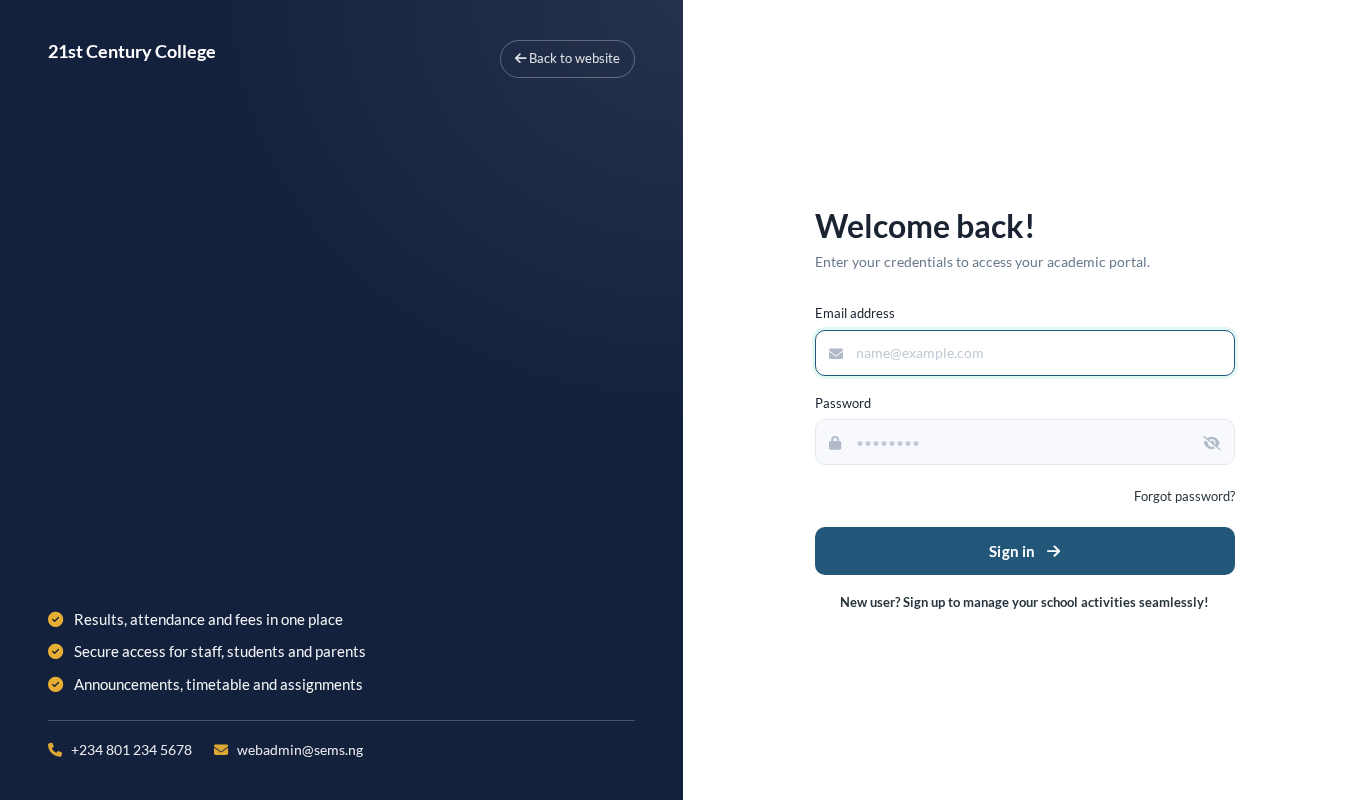 The Staff Login page on a school site.
The dashboard
After signing in you land on the Dashboard. It shows:
- Key numbers — students, teachers, staff, parents, and today's attendance.
- The Setup checklist — the eight steps needed to make the school fully operational. Each item links to the page where it is completed and is ticked automatically when done.
- Quick links to the most common tasks and recent announcements.
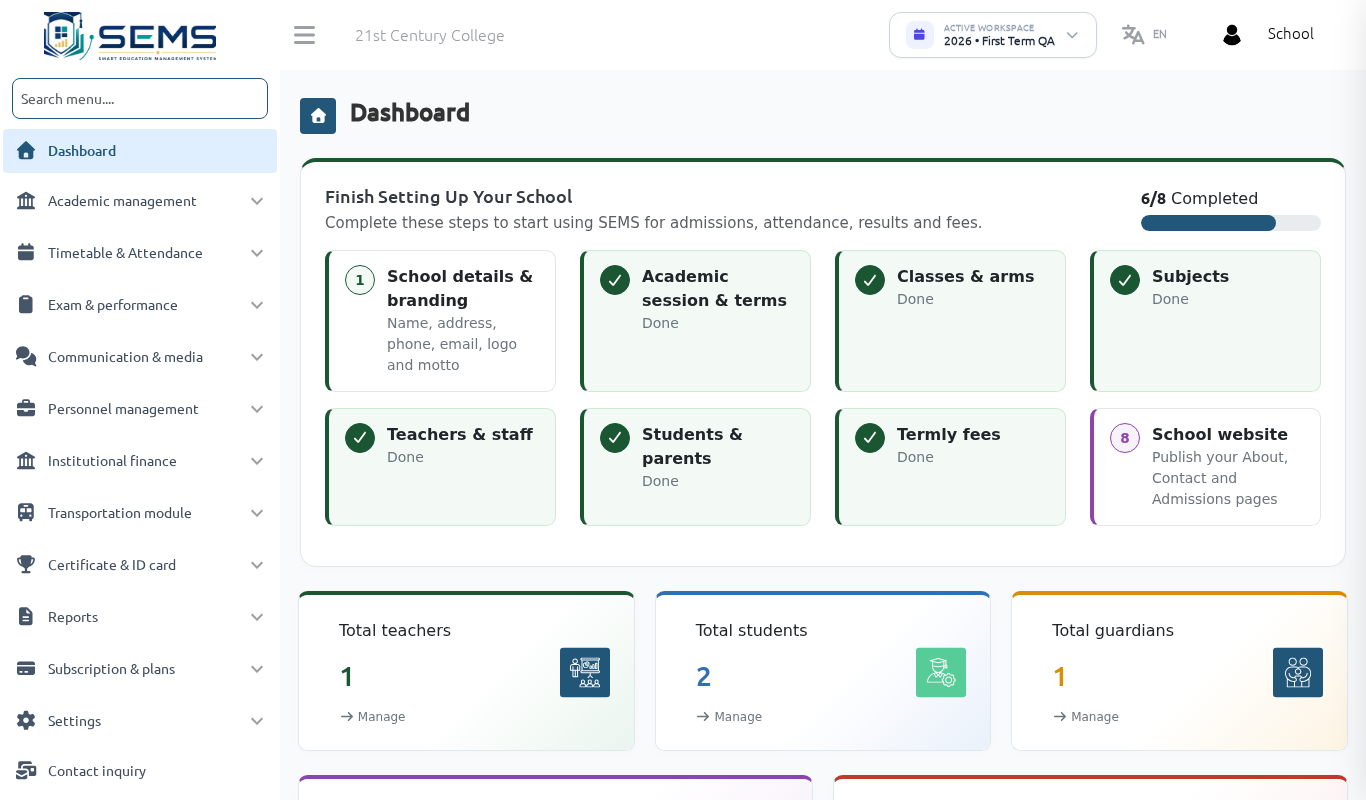 The dashboard with the setup checklist.
Recommended setup order
Follow the checklist in this order; each step depends on the one before it.
- School details and branding — name, address, phone, email, logo/crest, motto. See School profile and branding.
- Academic session and terms — create the session (e.g. 2026/2027) with First, Second and Third Term, and make it the current session. See Sessions and terms.
- Classes and arms — Nursery, Primary, JSS and SSS classes with their arms (A, B, Gold, Blue…). See Classes, arms and subjects.
- Subjects — create subjects and attach them to each class.
- Teachers and staff — add teachers, create roles such as Bursar or Vice Principal and add non-teaching staff. See Teachers, staff and roles.
- Students and parents — admit students one by one or by bulk upload; a parent account is created with each student. See Students and parents.
- Termly fees — fee types and the amount payable per class per term. See Fees and payments.
- School website — publish your About text, hero banner, programmes and contact details. See School website.
Tip: you do not have to finish everything in one sitting. The checklist stays on the dashboard until every item is complete.
Finding your way around
- The left sidebar groups everything into modules: Academic Management, Timetable & Attendance, Exam & Performance, Institutional Finance, Personnel Management, Communication & Media, School website, SEMS AI and Settings.
- Use Search menu at the top of the sidebar to jump to any page by name (for example type "report" to find Termly Report Cards).
- The SEMS AI button (bottom-right) opens the AI Guide, which explains the page you are on and answers "how do I…" questions from these manuals.
Next steps
Continue with School profile and branding.